How to Install PVC Pipes: A Step-by-Step Guide for DIY Enthusiasts


Understanding PVC Pipes
Polyvinyl Chloride (PVC) pipes are popular for plumbing projects due to their durability, affordability, and ease of installation. Whether you're tackling a small home repair or a larger project, knowing how to install PVC pipes can save you time and money. In this guide, we'll walk you through the process step by step, ensuring your DIY project is a success.
Gathering Your Materials
Before starting, make sure you have all the necessary materials and tools. You'll need PVC pipes, PVC primer and cement, a pipe cutter or hacksaw, measuring tape, a marker, sandpaper, and safety gear like gloves and goggles. Having everything ready will streamline the installation process.
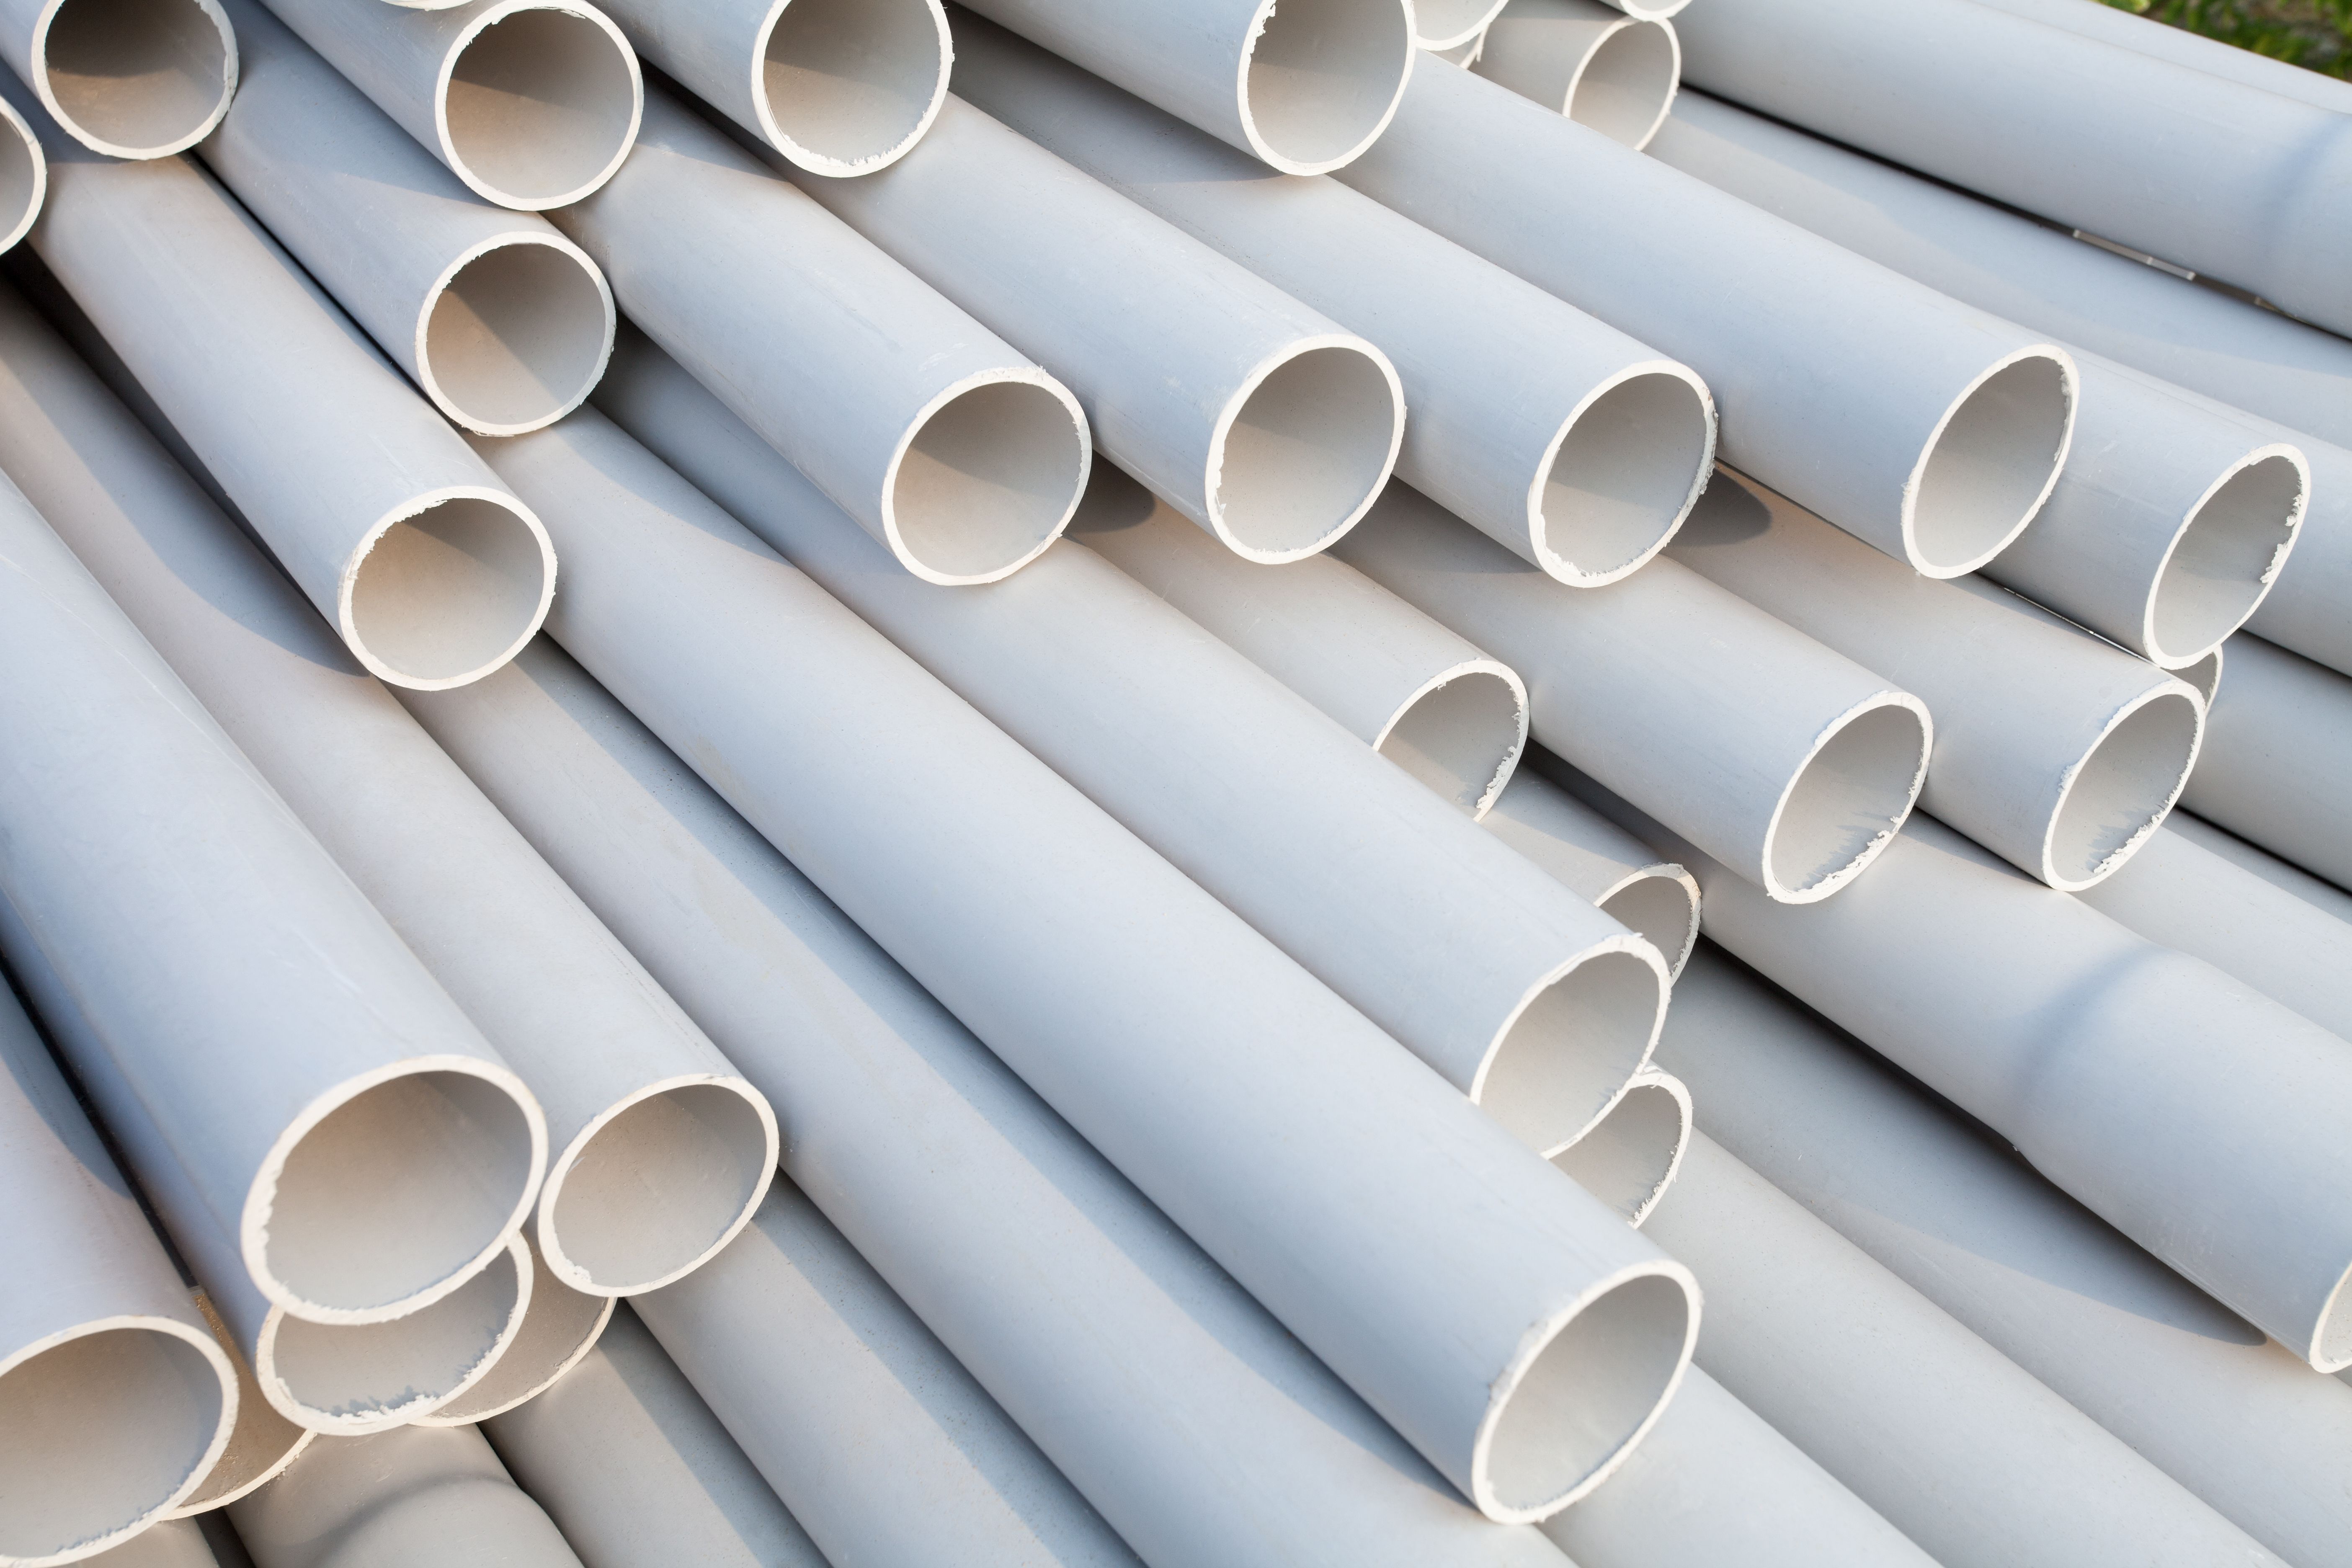
It's crucial to select the right diameter and type of PVC pipe for your specific needs. Consider the water pressure, temperature, and the purpose of the piping system to make an informed decision.
Preparing the Work Area
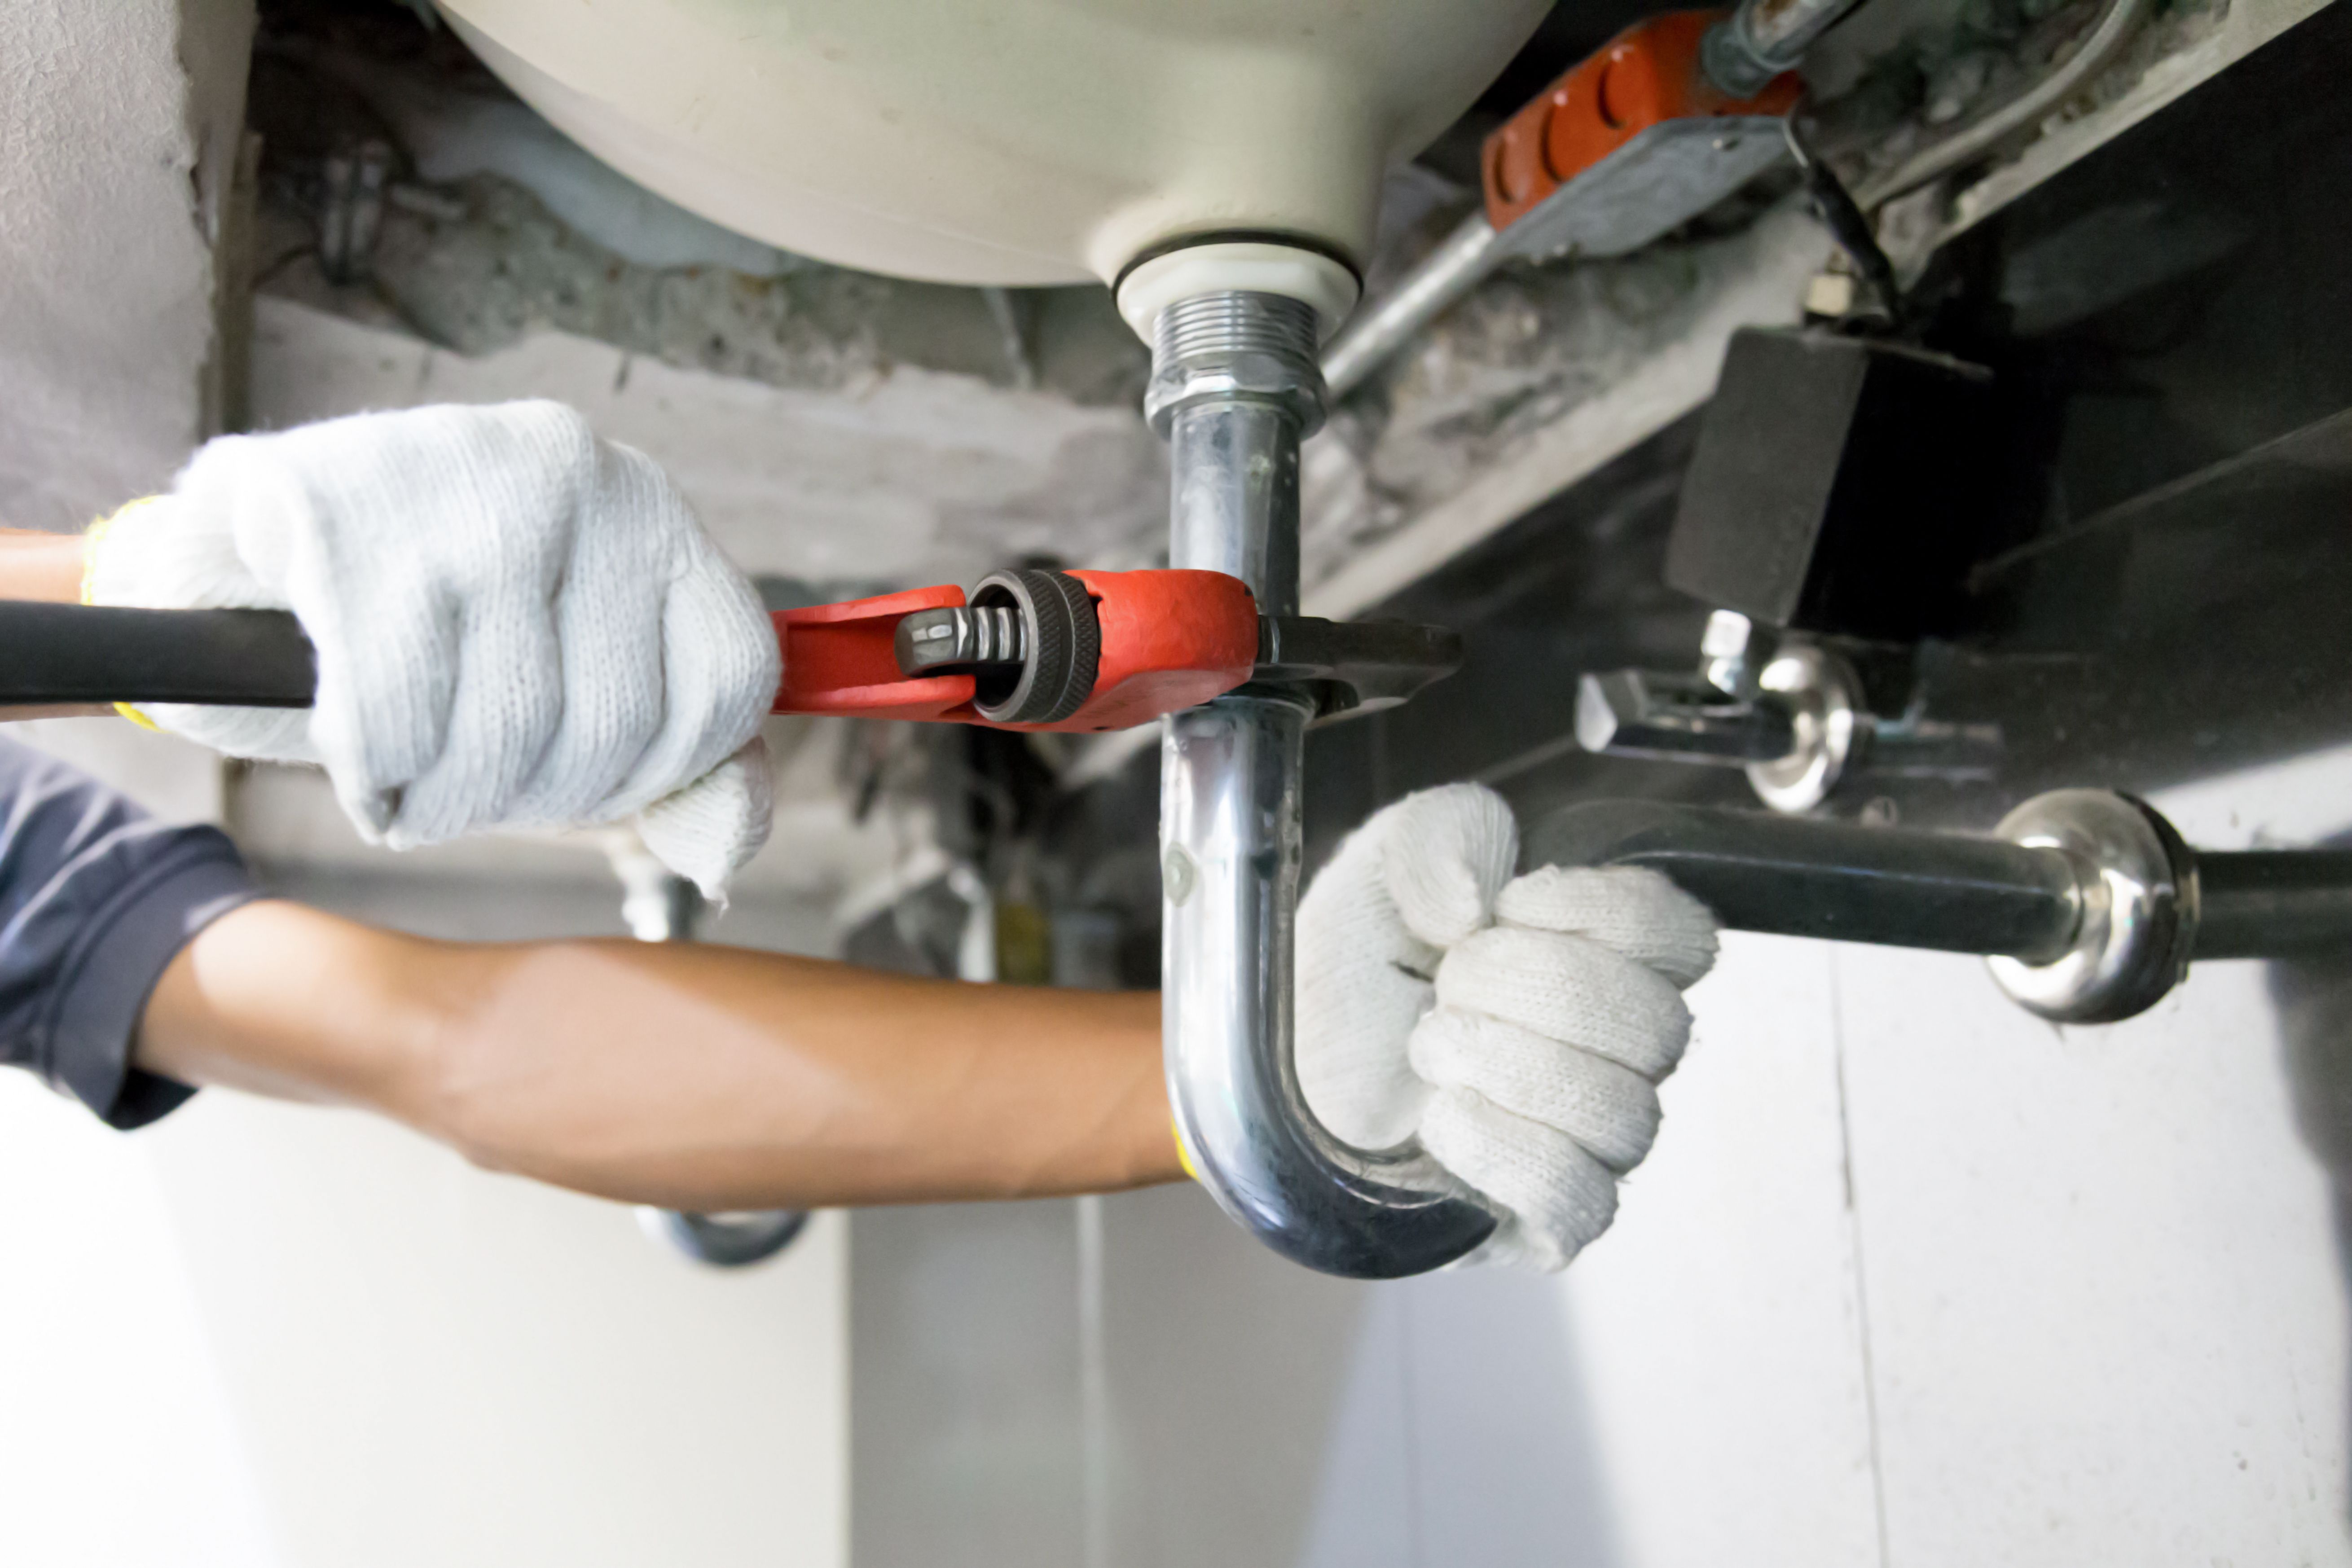
Start by clearing the workspace and ensuring it's well-ventilated. This is important because PVC primer and cement emit strong fumes. Lay out your materials and tools within easy reach to maintain an efficient workflow. Remember to wear your safety gear to protect yourself during the cutting and joining process.
Measuring and Cutting the Pipes
Accurate measurements are key to a successful installation. Measure the length of pipe needed and mark it with a marker. Use a pipe cutter or hacksaw to cut the pipe at the marked line. Ensure the cut is straight and even to facilitate a snug fit during assembly.
After cutting, use sandpaper to smooth the edges of the pipe. This step is important to prevent any sharp edges from affecting the joint's integrity.
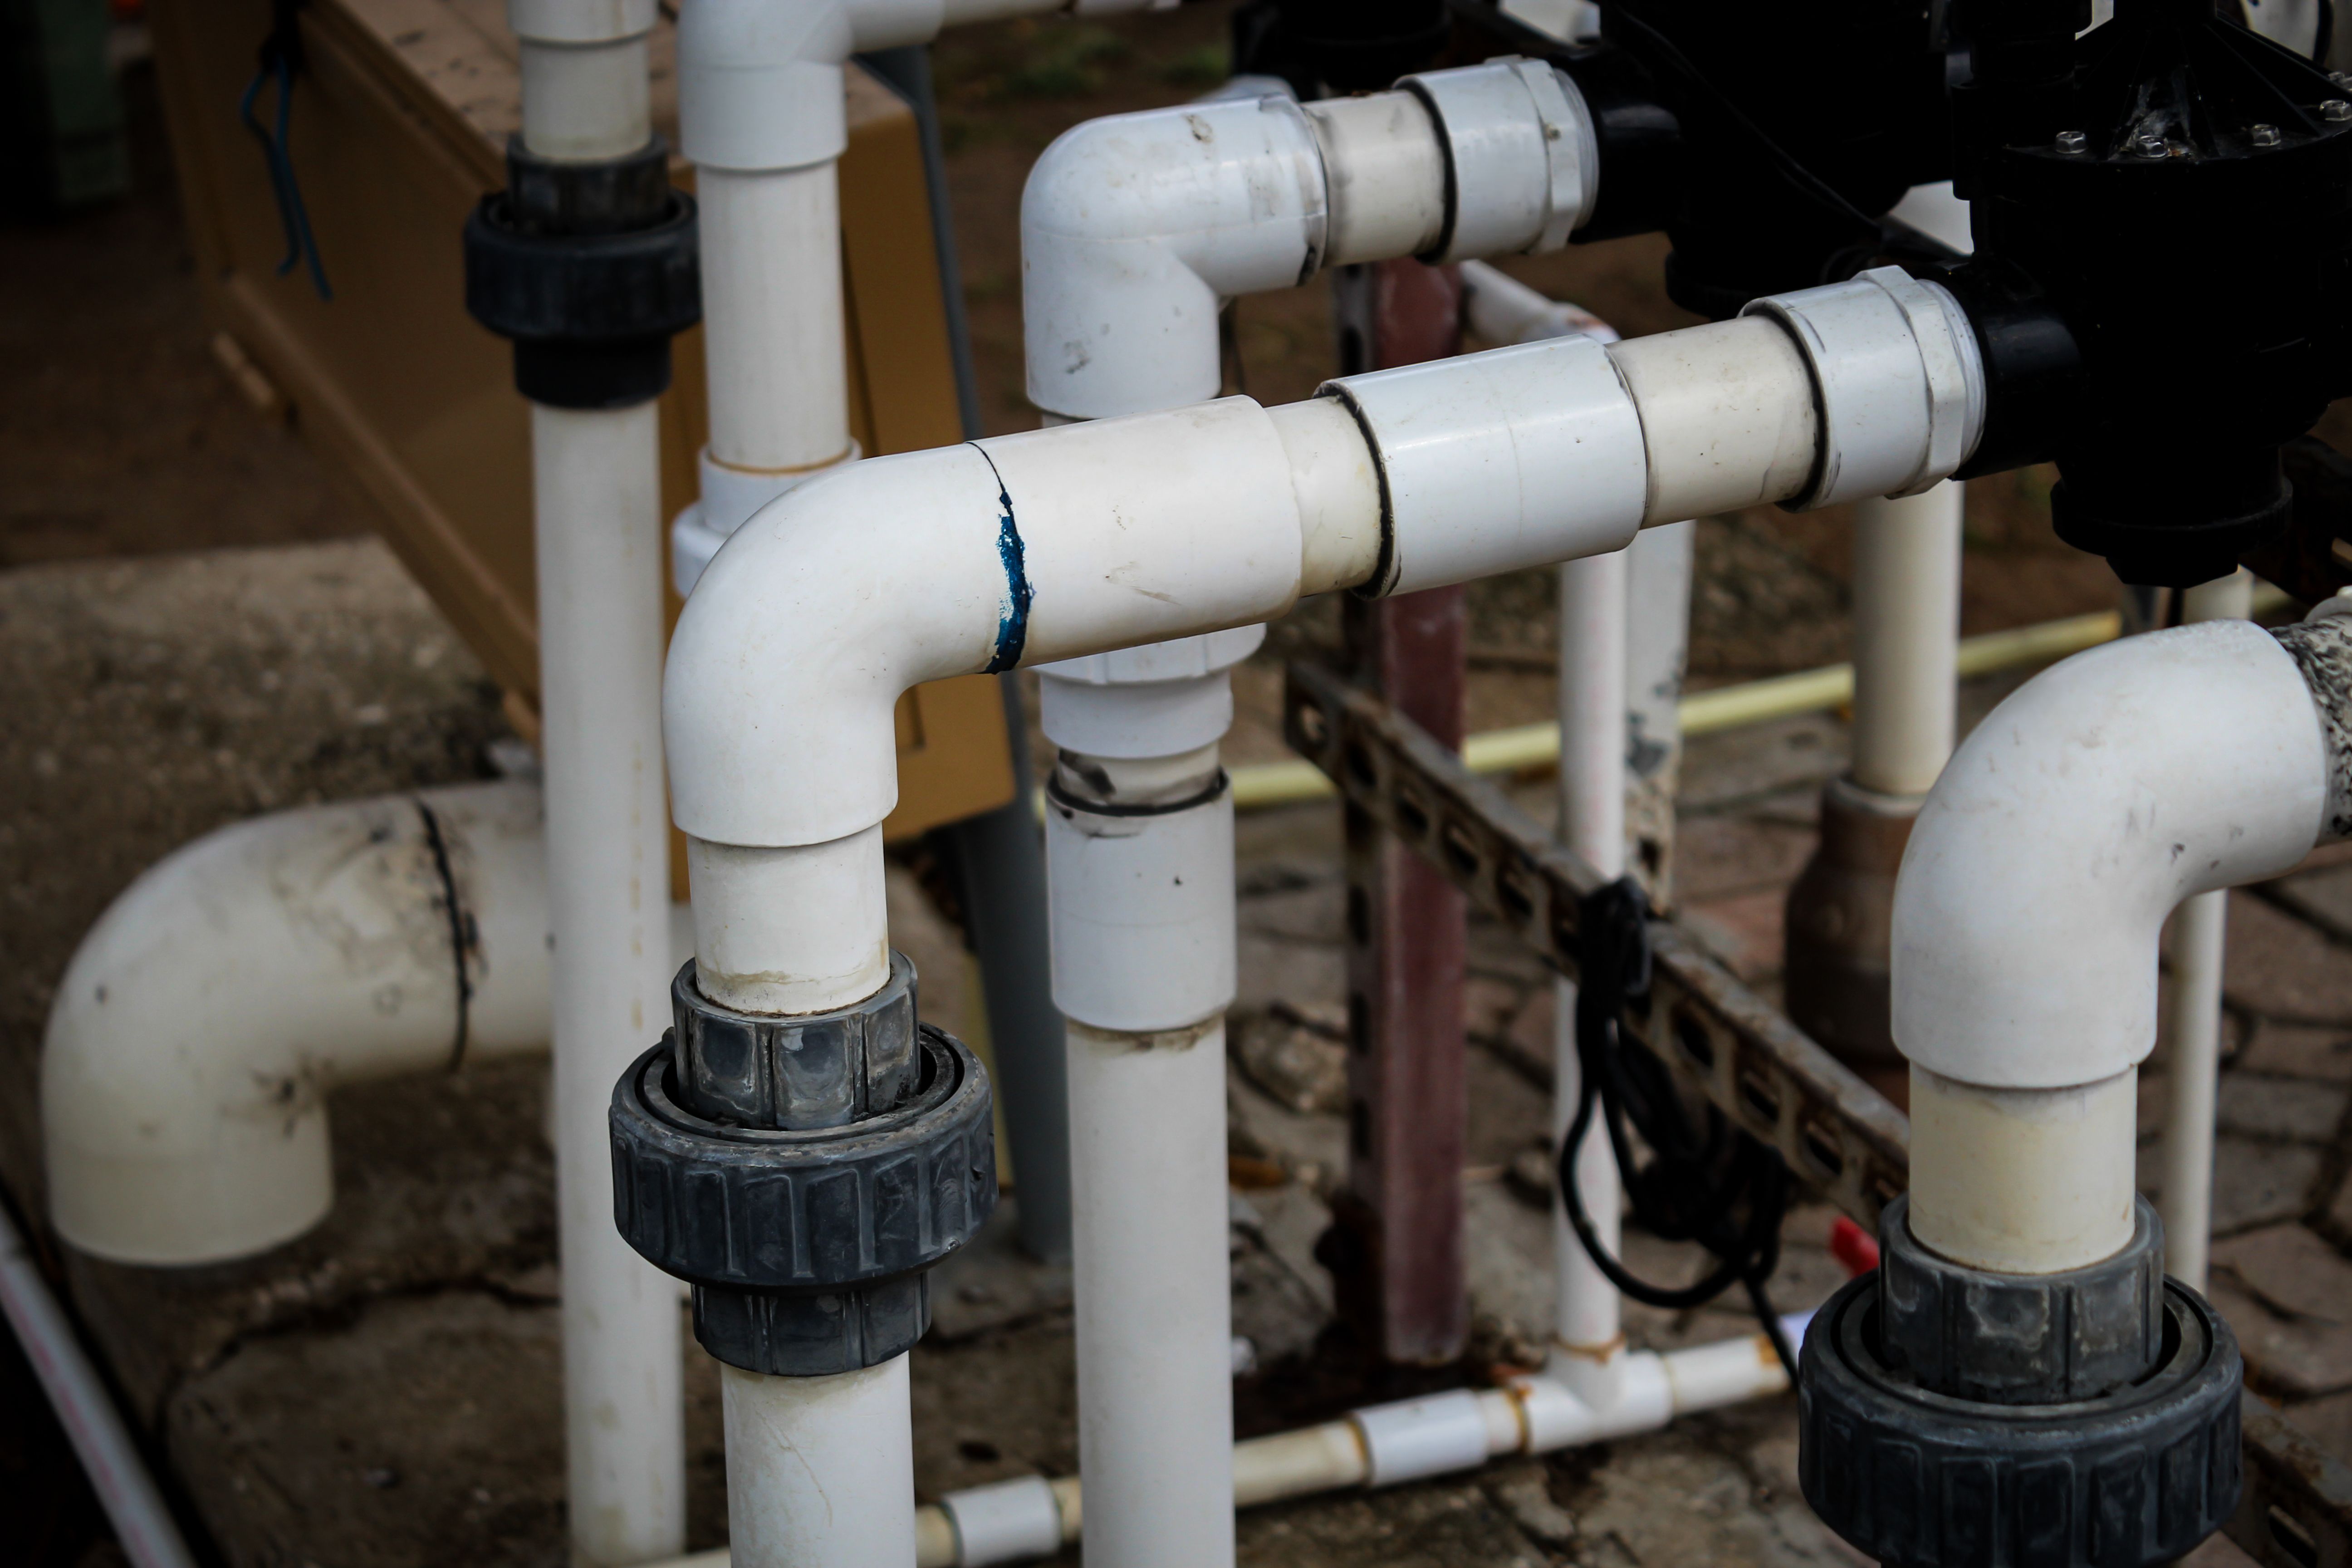
Assembling the PVC Pipes
Begin by applying the PVC primer to the outside of the pipe and the inside of the fitting. The primer cleans and softens the PVC, preparing it for a strong bond. After priming, immediately apply PVC cement to the same areas.
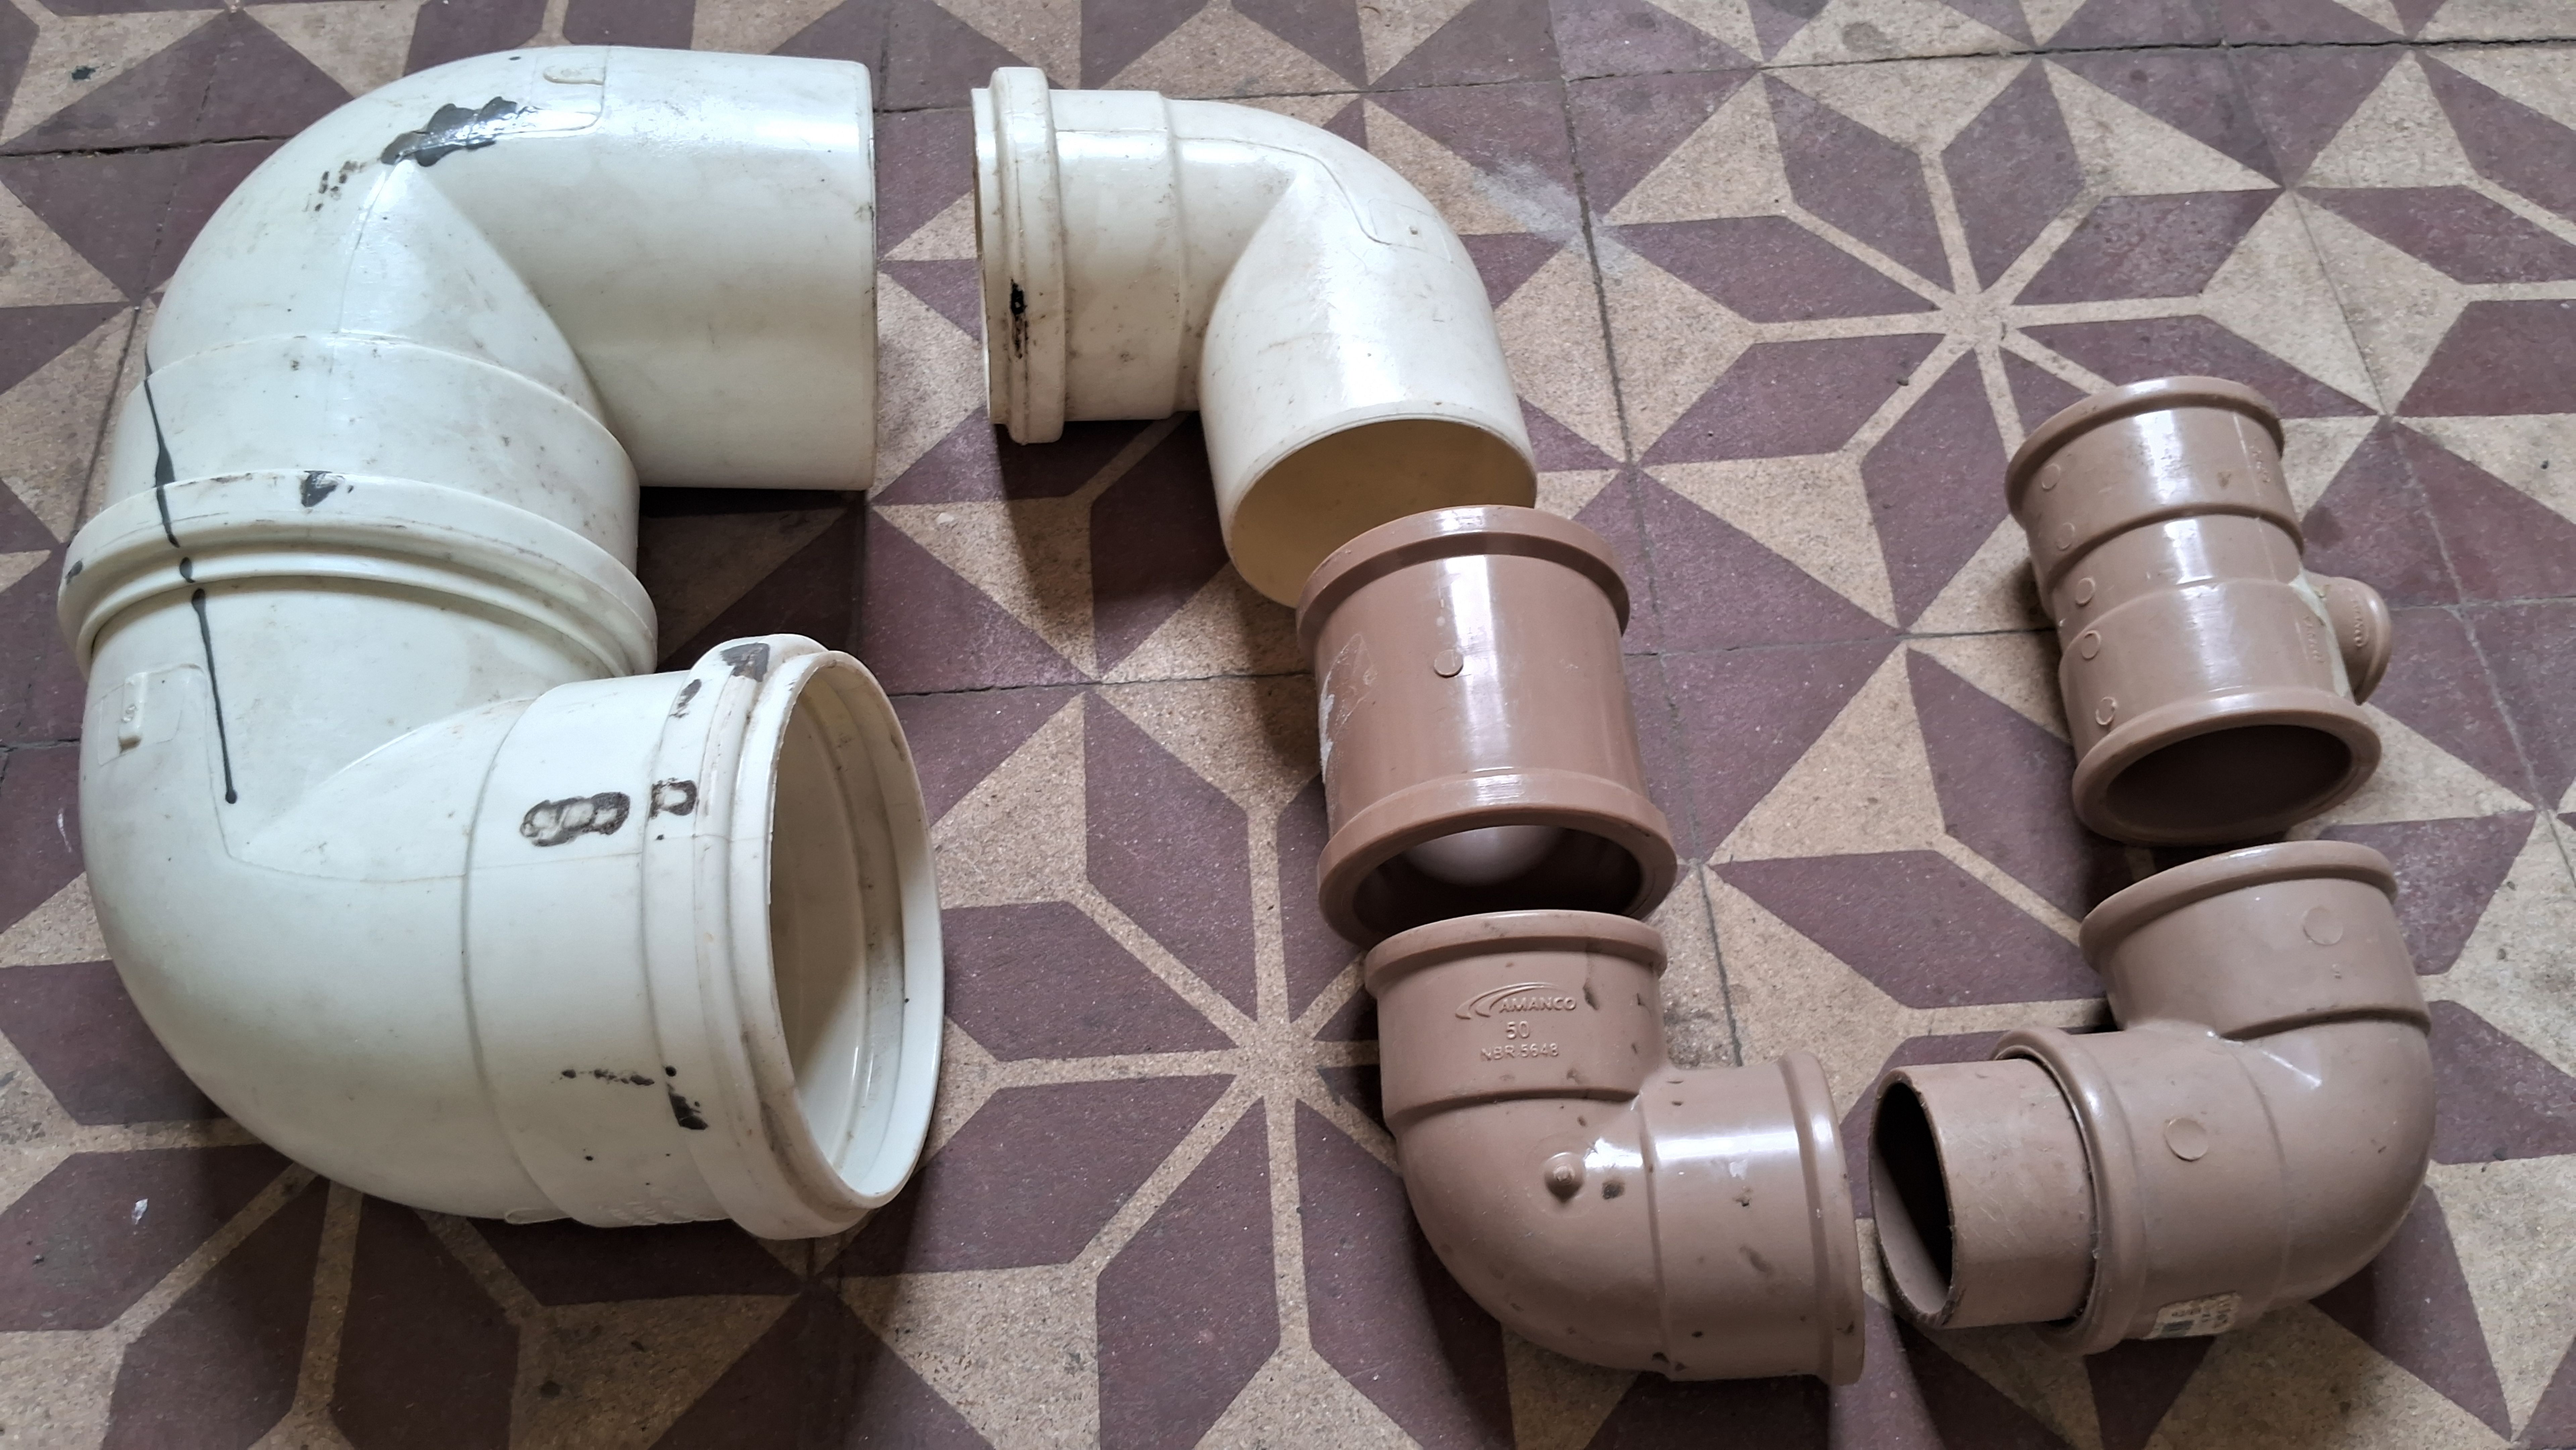
Joining the Pipes
Quickly insert the pipe into the fitting, twisting slightly to evenly distribute the cement. Hold the joint together for 30 seconds to ensure a solid bond. Wipe away any excess cement to keep the joint clean and professional-looking.
Repeat this process for each pipe connection, ensuring all joints are secure before moving on to the next step. Properly joined pipes will prevent leaks and maintain system integrity.
Testing Your Installation
Once all pipes are connected, allow the cement to cure for the recommended time specified by the manufacturer. After curing, test your installation by running water through the pipes. Check for any leaks and secure any loose fittings.
If you notice leaks, reassess the joints and ensure the cement has cured properly. Sometimes, a second application may be necessary.
Final Touches and Maintenance
After confirming the system is leak-free, make any necessary adjustments to ensure the pipes are securely fastened in place. Consider using pipe straps or brackets for added stability.
Regular maintenance of your PVC piping system will prolong its lifespan. Inspect joints periodically and address any issues promptly to maintain optimal performance.