DIY Tips: Installing Irrigation Systems with Mini Valves and Drippers


Installing an irrigation system in your garden can significantly enhance its health and appearance by ensuring your plants receive the right amount of water. A DIY approach using mini valves and drippers is both cost-effective and efficient, making it a popular choice for many gardening enthusiasts.
Getting Started with Your Irrigation System
Before you begin, it's essential to plan your system. Determine the areas of your garden that require irrigation and consider the types of plants and their specific water needs. Sketch a layout of your garden to visualize where the pipes, mini valves, and drippers will be placed.
Next, gather the necessary materials. You'll need tubing, mini valves, drippers, connectors, and a timer. These components are typically available at garden centers or online stores. Ensure you have a few basic tools on hand, like a utility knife and a measuring tape.
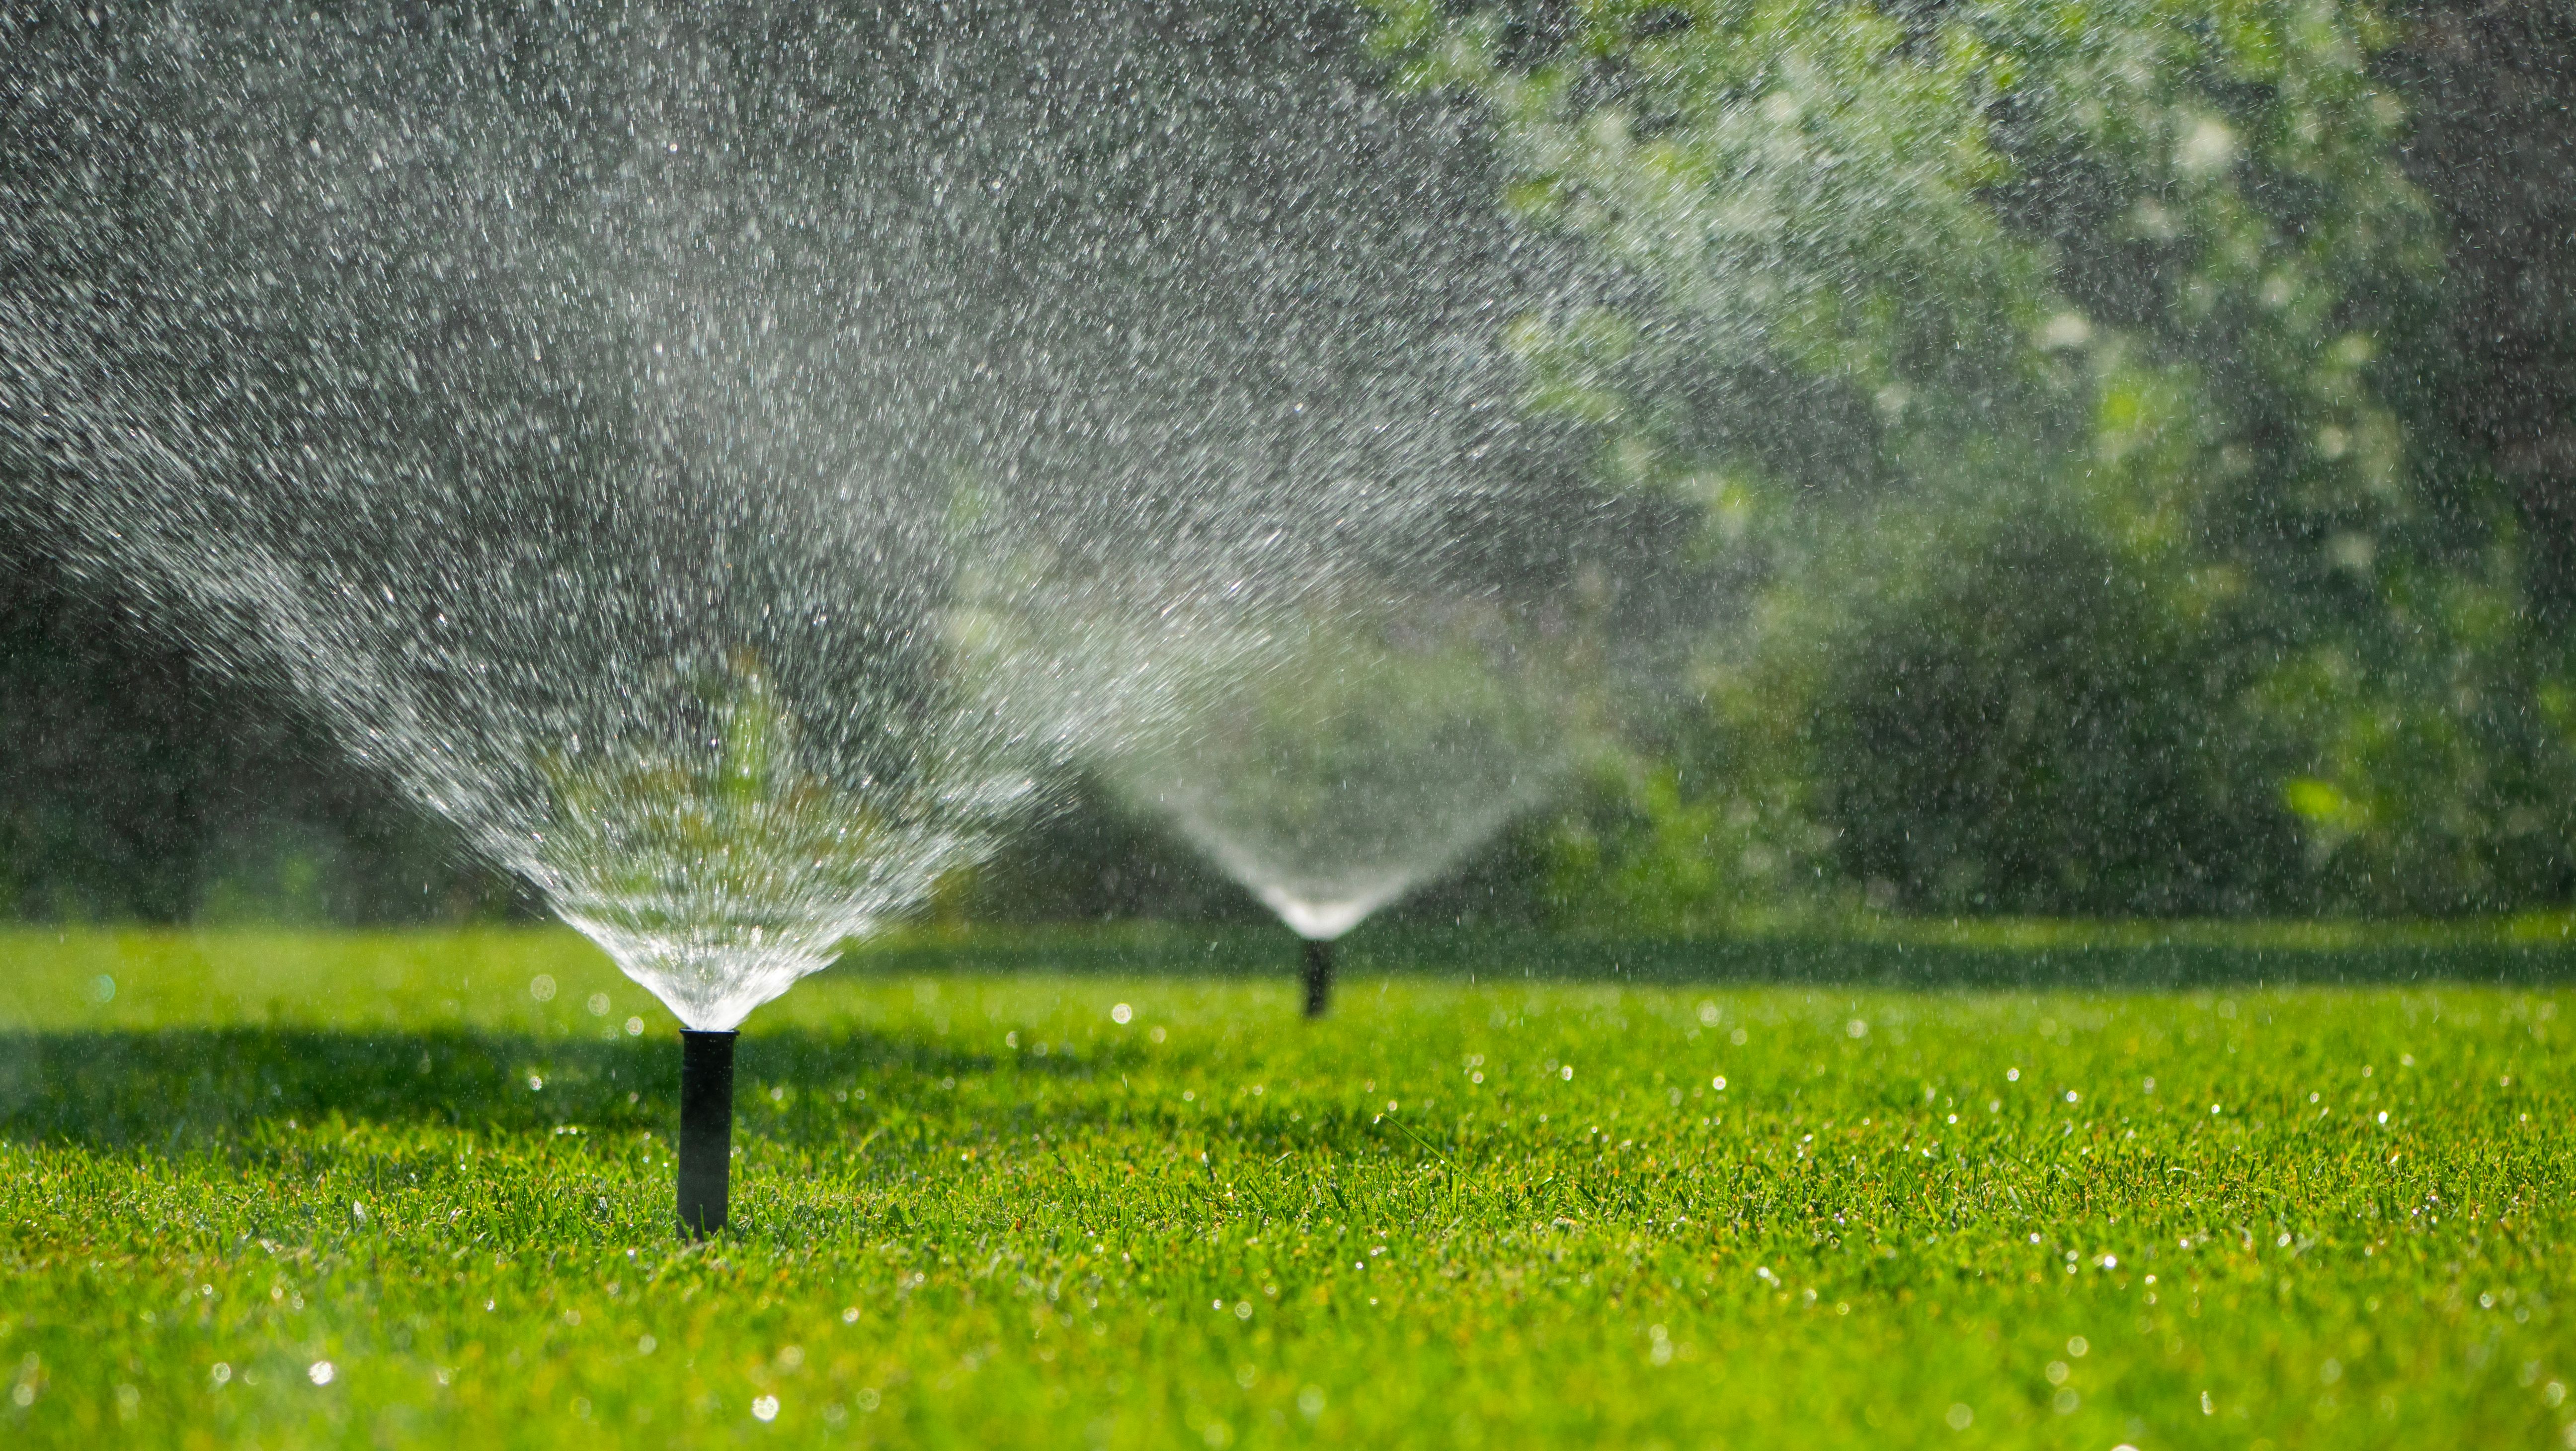
Installing the Main Line
Start by laying out the main line of tubing. This line will distribute water from the source to various sections of your garden. Cut the tubing to the appropriate length, ensuring it reaches all areas you plan to irrigate. Secure it with stakes to prevent movement.
Once the main line is in place, install the mini valves. These allow you to control the water flow to different sections, giving you flexibility to adjust based on weather conditions or plant growth. Attach the valves at strategic points along the main line.
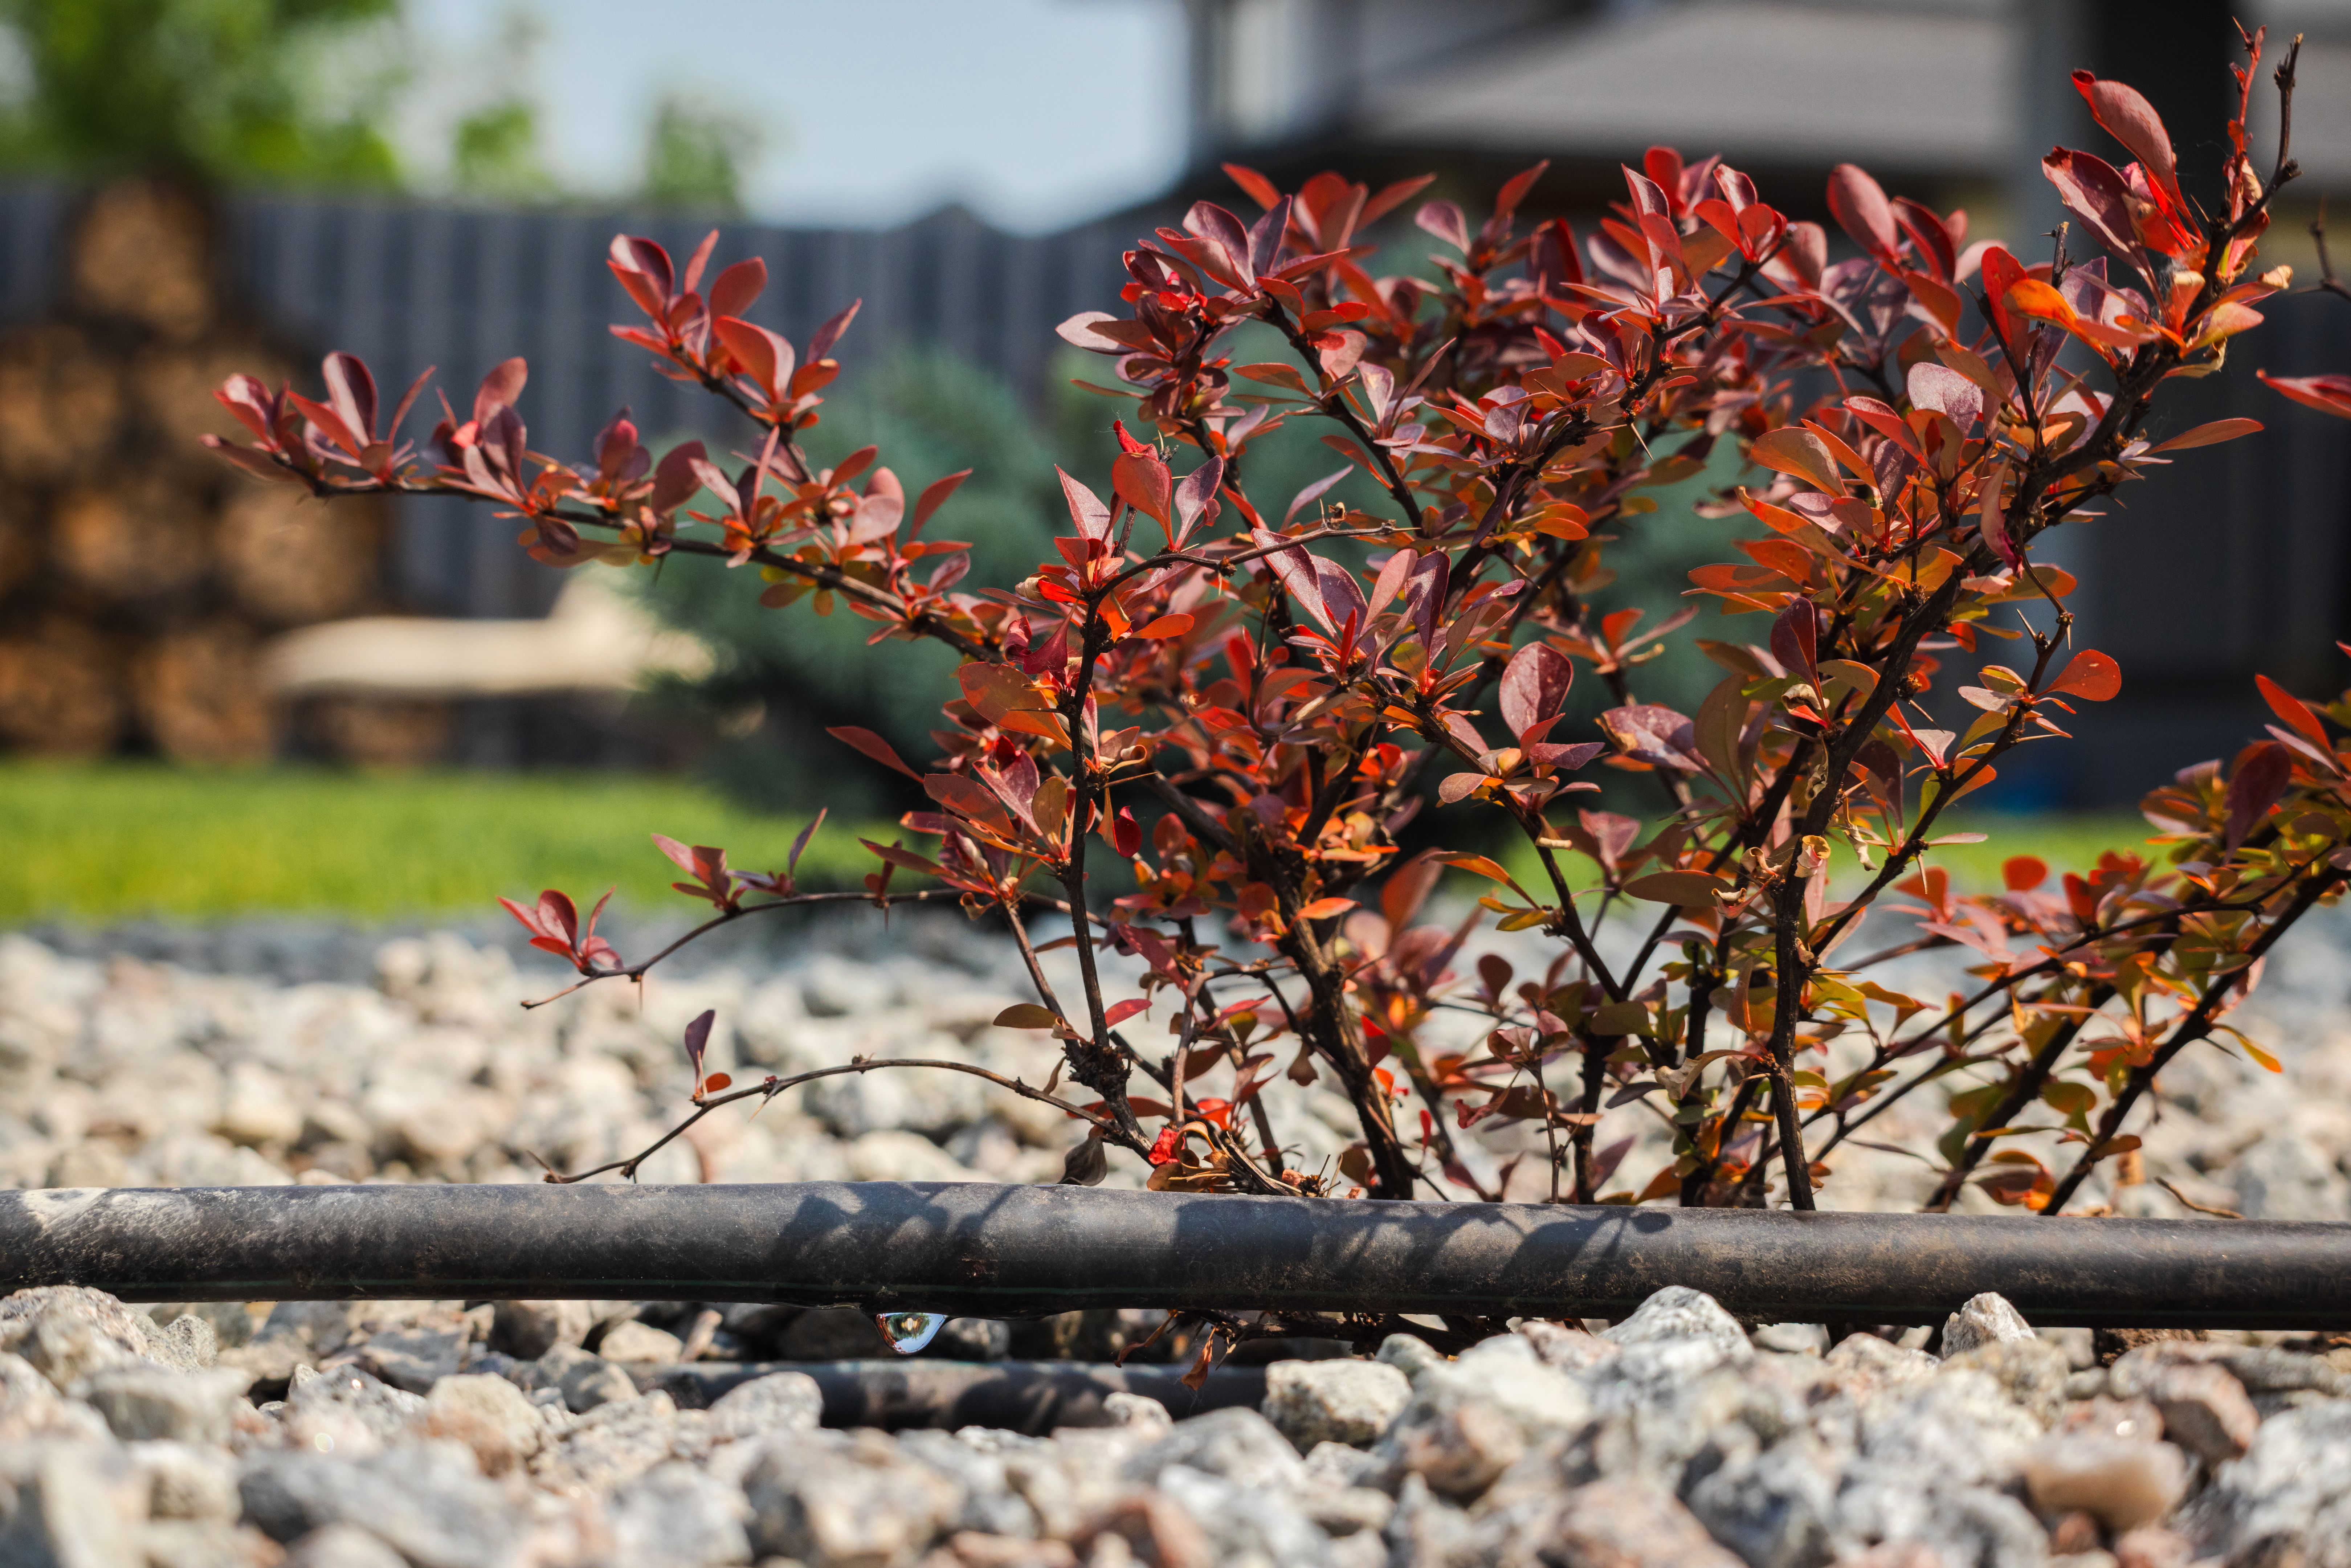
Attaching Drippers
Drippers are crucial for delivering water directly to the base of each plant. To install, punch small holes into the tubing where you want water to be dispensed. Insert drippers into these holes, ensuring a snug fit to prevent leaks.
Consider using adjustable drippers, which allow you to control the water output. This feature is particularly useful for plants with varying water requirements.

Testing and Adjustments
After installation, it's time to test your system. Turn on the water supply and observe each section for leaks or blockages. Adjust the mini valves and drippers as needed to ensure even water distribution.
Set the timer to automate watering based on your garden's needs. Most plants benefit from early morning watering to reduce evaporation and fungal diseases. Regularly check the system for clogs and clean the drippers to maintain efficiency.
Maintenance Tips
Regular maintenance of your irrigation system will ensure its longevity. Check connections and replace any damaged parts promptly. Clean the filters and drippers periodically to prevent mineral buildup.
In colder climates, consider draining the system before winter to prevent freezing damage. Store removable parts indoors to extend their lifespan.
By following these DIY tips, you can create an effective irrigation system that keeps your garden lush and vibrant. Not only will this save water, but it will also save you time and effort in maintaining your outdoor space.